
Today, I worked on creating the third and fourth printing plates for what will become the ‘Lincolnshire Coast‘ series of prints. Once I’m happy with the eventual prints, these two images will complete the series. I’ll then work out what to do with them! My options will be to try and sell them together as a whole series. More likely though, will be to try and sell them individually.
As before, I cut two pieces of mount board to match the size of the previous two. This time though, I prepared the board surface a little differently, thanks to some valuable advice from fellow printmaker Suzie MacKenzie. Instead of using french polish (shellac) or brushed-on varnish to seal the surface prior to creating the textured image, I used PVA glue thinned down with some water. This adheres to the board surface really well, and should prevent the surface crumbling I’ve been experiencing, particularly on the last plate I made (Lincolnshire Coast 2).
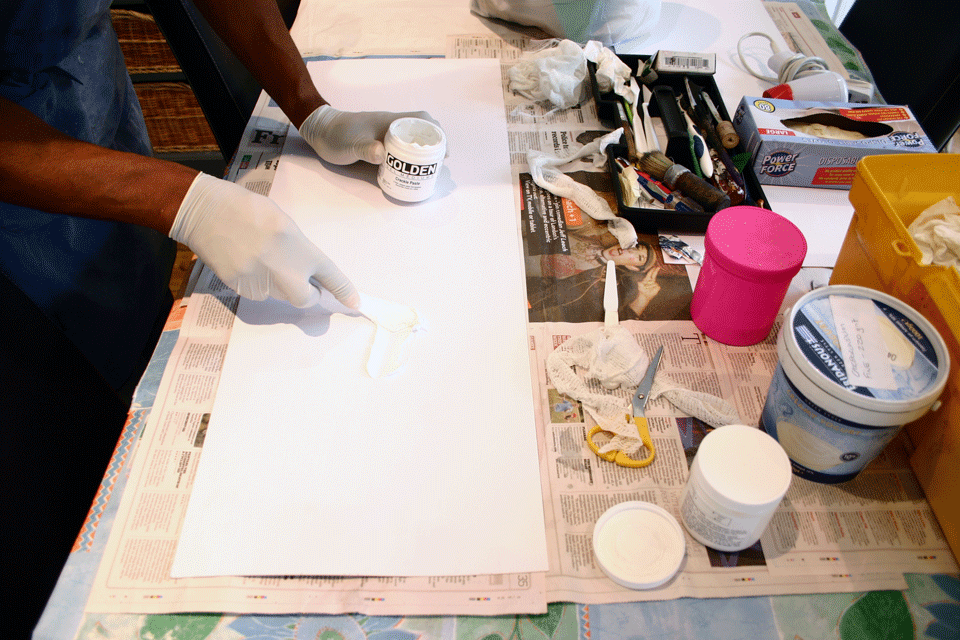
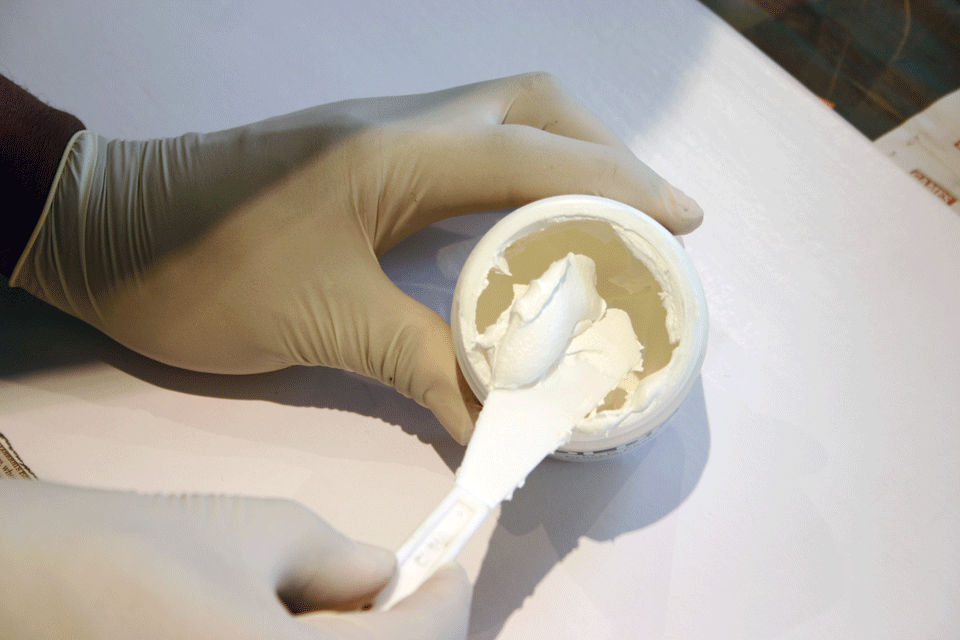
As almost all of my images are abstract, I never work from a sketch. However, for this series, I have been working with the general idea of, flowing linear shapes in mind. So, I began by spreading crackle paste along the board (above).
The crackle paste will dry quite rough, which will hold the ink and print dark. I now need to create some different textures to give me middle and light tones.
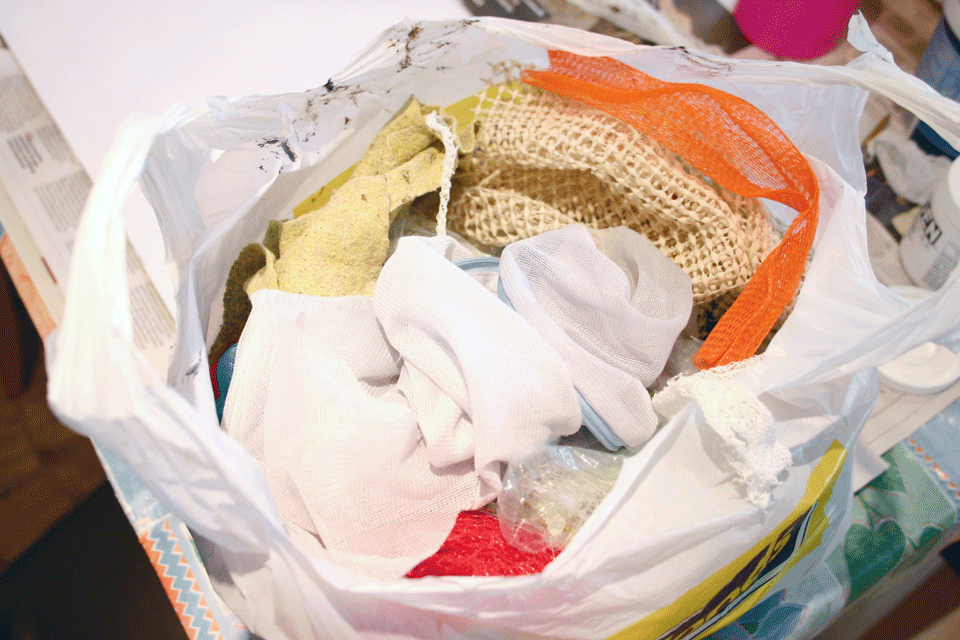
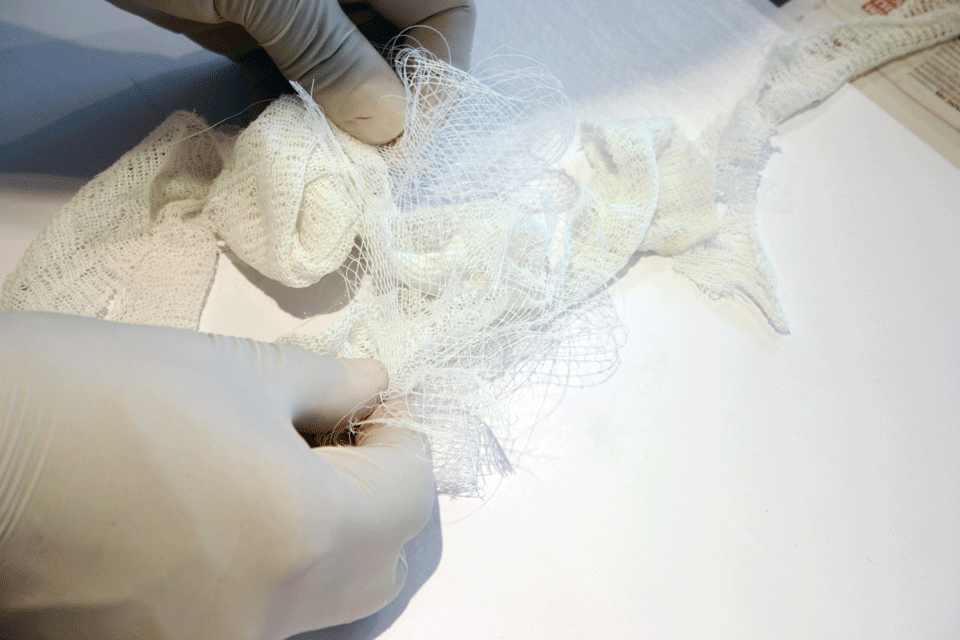
Above: this is my ‘fabric bag’. Essentially, I just collect offcuts of various materials. In here are plastic fruit and vegetable bags, dishcloths, bandages. Some are fine textured, whilst others, like the plastic netting bags are open. Whatever the fabric, I usually alter it further by cutting and tearing at the edges, or pulling it apart to create interesting holes, or tear strips from them before glueing them into position.
Then, to create the smoothest areas (to print lightest in the final print), I pour varnish onto the surface (below).


Above: while the paste and varnish is still wet, I sprinkle apply carborundum powder through a home-made bag. I use one of those close-weave bags that has been used for protecting delicate items of clothing in washing machines. As long as the material allows you to control the amount that is allowed through, then it will be fine to use.
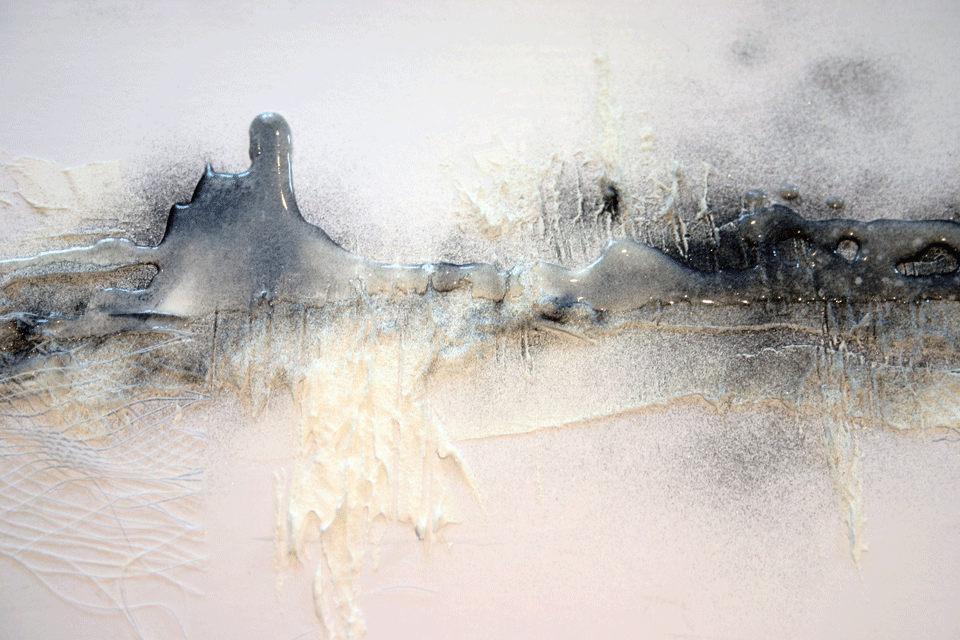
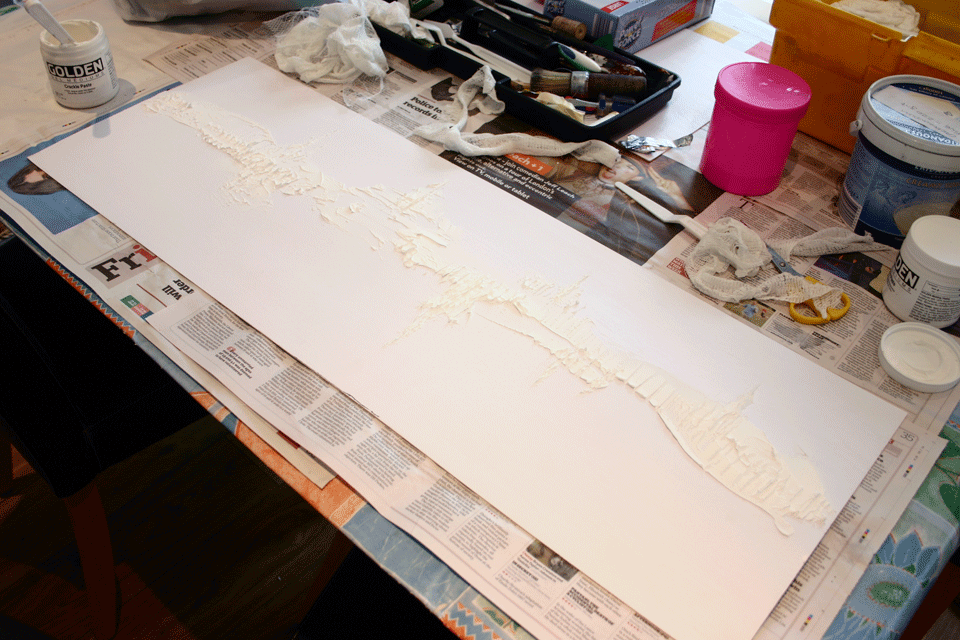
This is what I love about the collagraph process. Here, you can see the interesting textures created by the crackle paste, fruit bag (left) and the poured varnish. Some plates look like interesting works of art in their own right, and could be framed as they are!
And here’s the second plate I made today, complete with embedded matchsticks…

The only steps remaining to finish the plates will be to blow/brush away the excess carborundum powder and then seal the entire surface of the plate again. Previously, I used ordinary interior varnish, brushed on. However, I have, through Suzie MacKenzie, discovered a more effective way to protect the surface from the inking and printing process – clear polyurethane spray varnish. Once again, I’m grateful to Suzie MacKenzie for the idea.
I should be printing the plates in the next two weeks. I’ll post again to show how the prints turned out.
Find all my posts about Art Printworks stories on Twitter at: #artprintstories